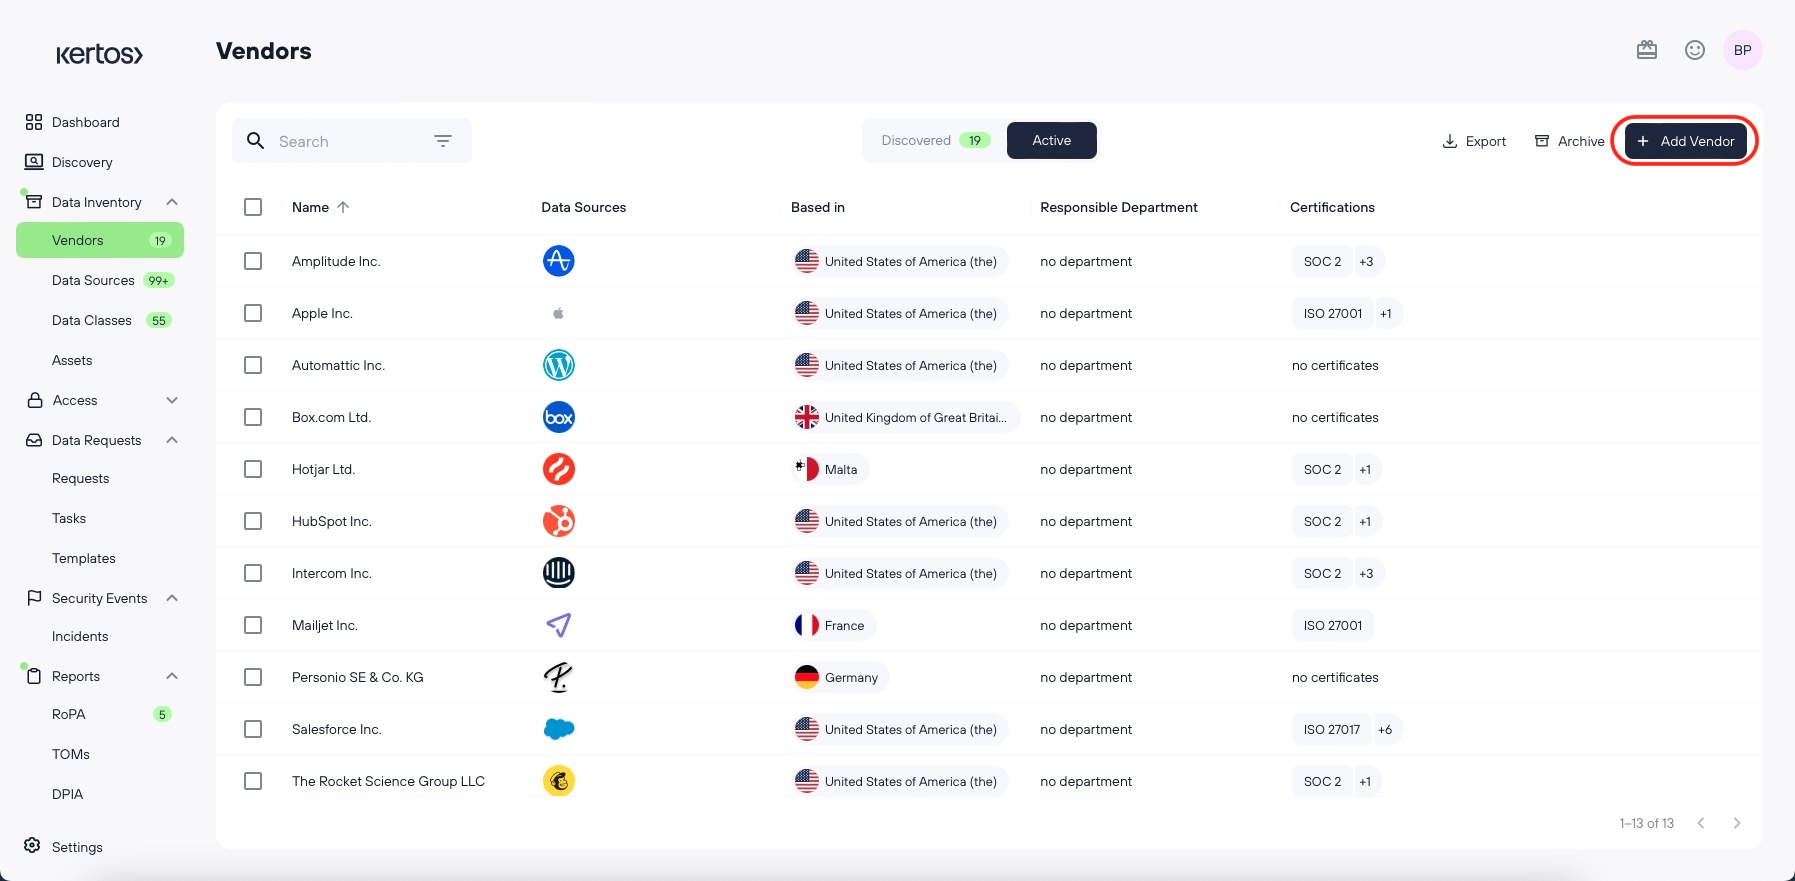
After setting vendors to active, you can proceed to supplementing them with all relevant information so that you have a comprehensive documentation of them.

Adding Vendors manually
If a vendor of yours was not identified in the discovery, you have the option to add it manually.
Click “Add Vendor”.
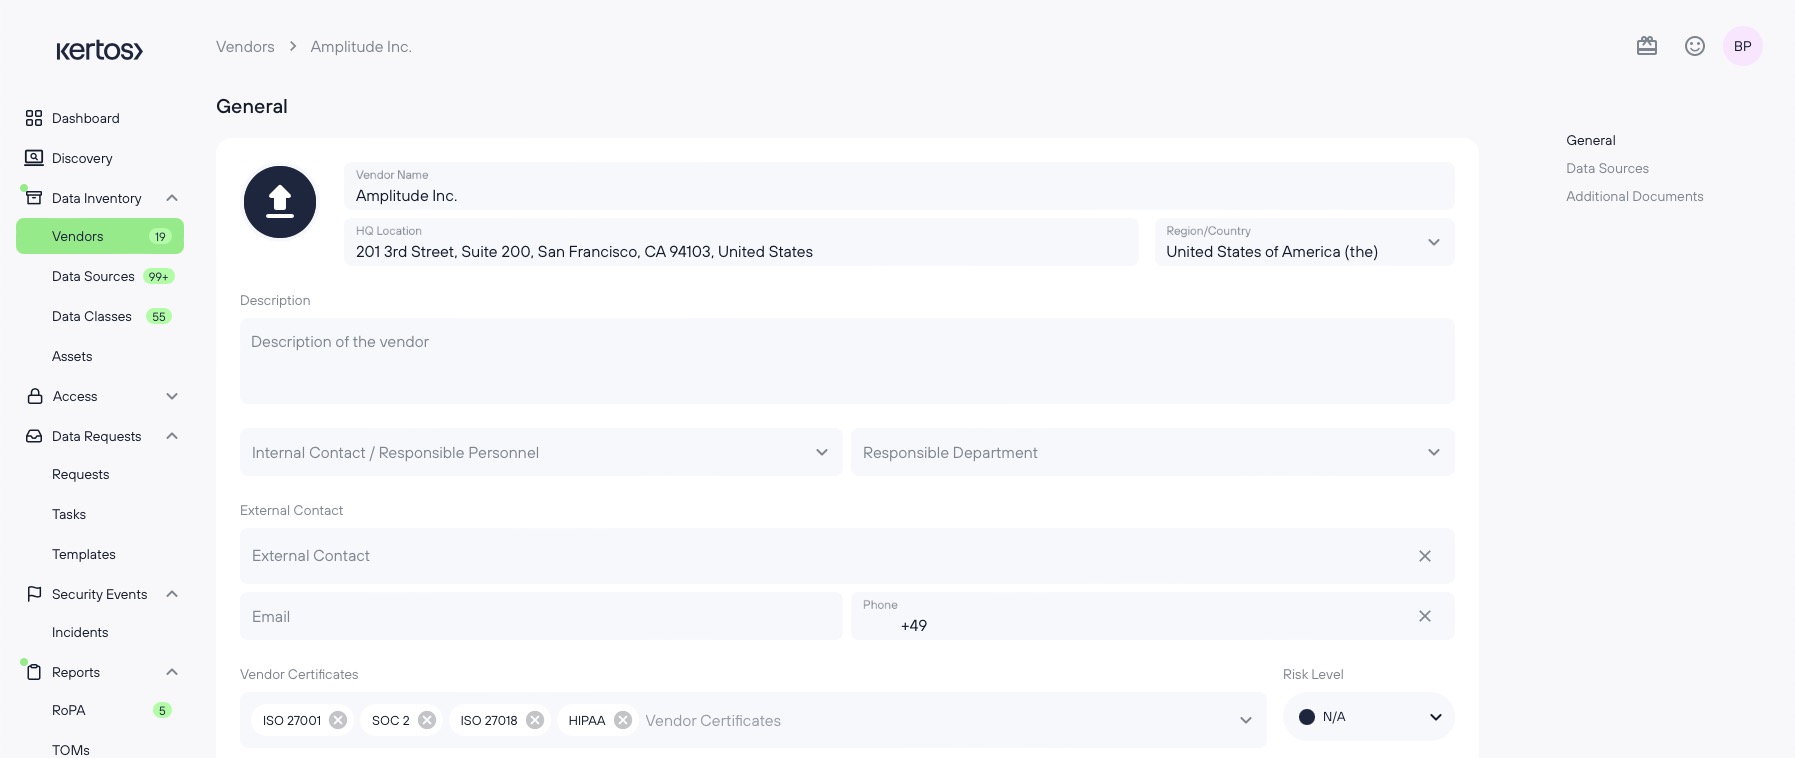
Fill out the corresponding information, on the next page (this page resembles the detail view of a vendor, which you can open by clicking on the respective vendor.)
Click “save”.
Documenting basic information

Among the basic options for documentation in the detail view, there are:
Vendor name The legal name of the vendor.
HQ Location
Region/ Country Region/ Country of the headquarter.
Description What the vendor sells.
Internal Contact Who is responsible for this vendor.
Responsible Department Department of the responsible person.
External Contact incl. E-Mail and phone number
Risk level
Certificates Certificates that you know the vendor possesses.
Do not forget to click “save” every time after modifying a Vendor.
Adding Vendor Certificates
For some widely-used vendors, Kertos will automatically set their certificates for you. If there none available for pre-setting, you can add certificates manually.
.png)
Click into the Vendor Certificates bar.
Choose the desired certification from the list.
.png)
If it does not appear in the list, you can add a custom vendor certificate by entering its name and click “Add vendor certificate”.
.png)
If you want to remove a custom certificate, click “edit vendor certificates”. You can remove the certificate by clicking on the red minus that appears.
Assigning Data Sources
See Inventorying Data Sources for more details on how to assign Data Sources to Vendors.
Uploading documents
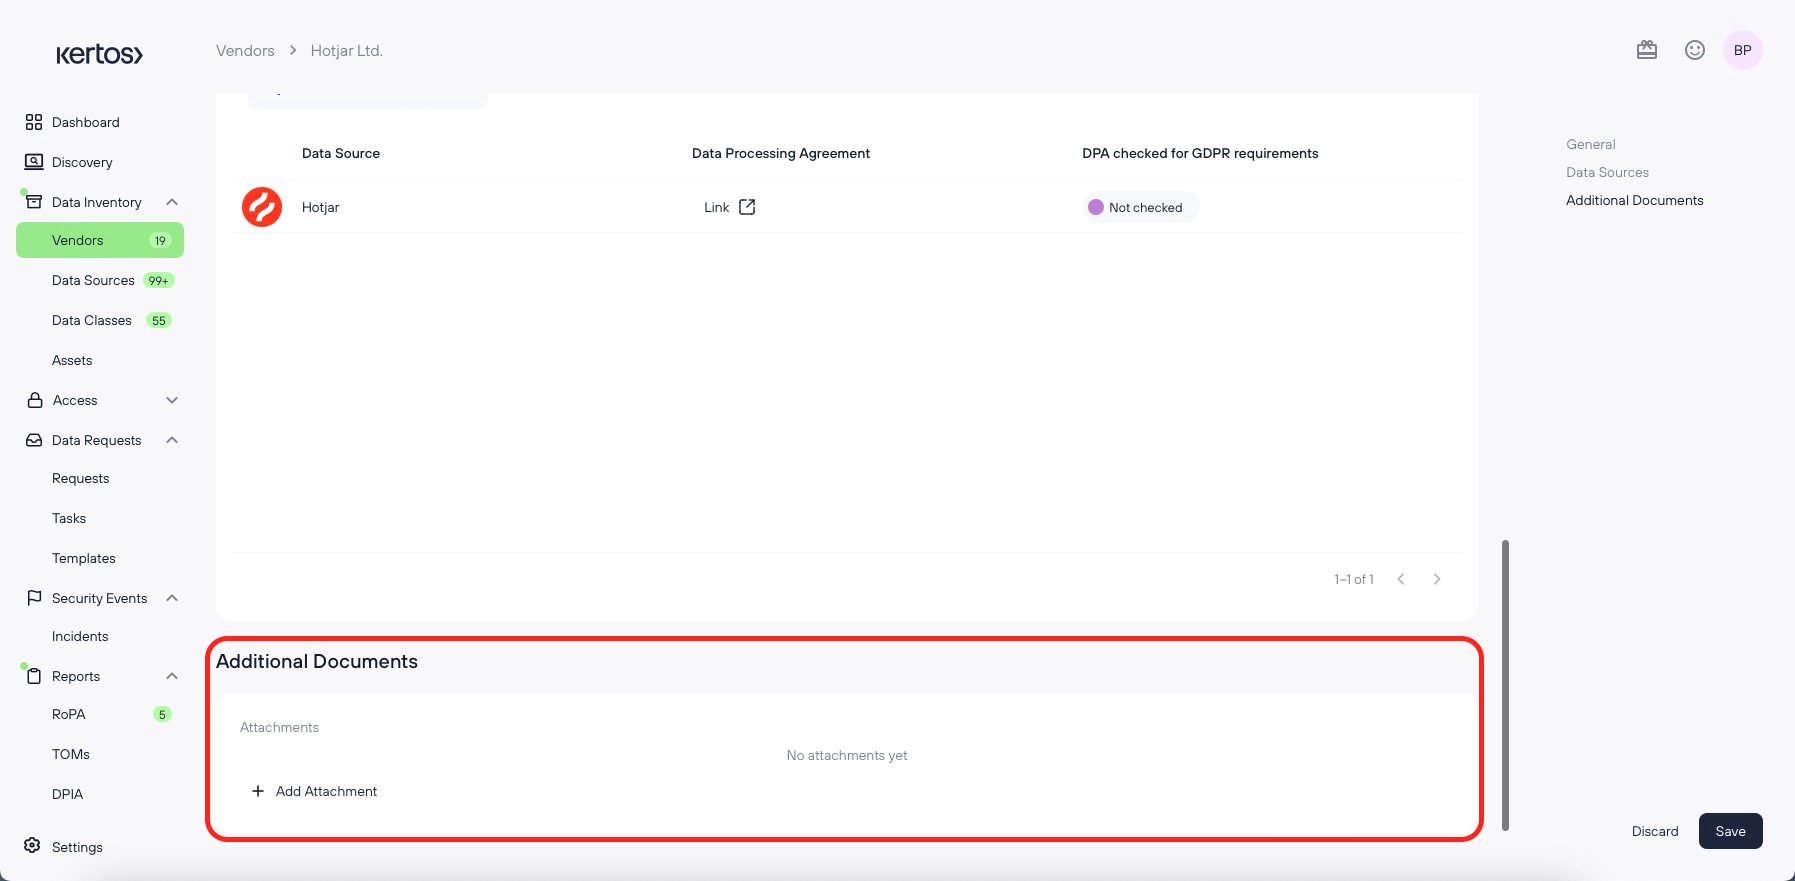
You can add any document that belongs to a specific vendor on its detail view.

We have added the three most common ones for accessibility:
Data Processing Agreement
Privacy Policy
Link Impact Assessment

At the bottom of the vendor detail view, you can also add additional documents.