After setting Data Sources to active, you can proceed to supplementing them with all relevant information so that you have a comprehensive documentation of them.
Data sources, in most cases, are tools or software applications offered by vendors. One vendor can have multiple data sources. For example, one could use SharePoint and Teams, which are two data sources of the same vendor (Microsoft Corp.). This is why you can assign Data Sources to vendors in Kertos.

Adding Data Sources manually
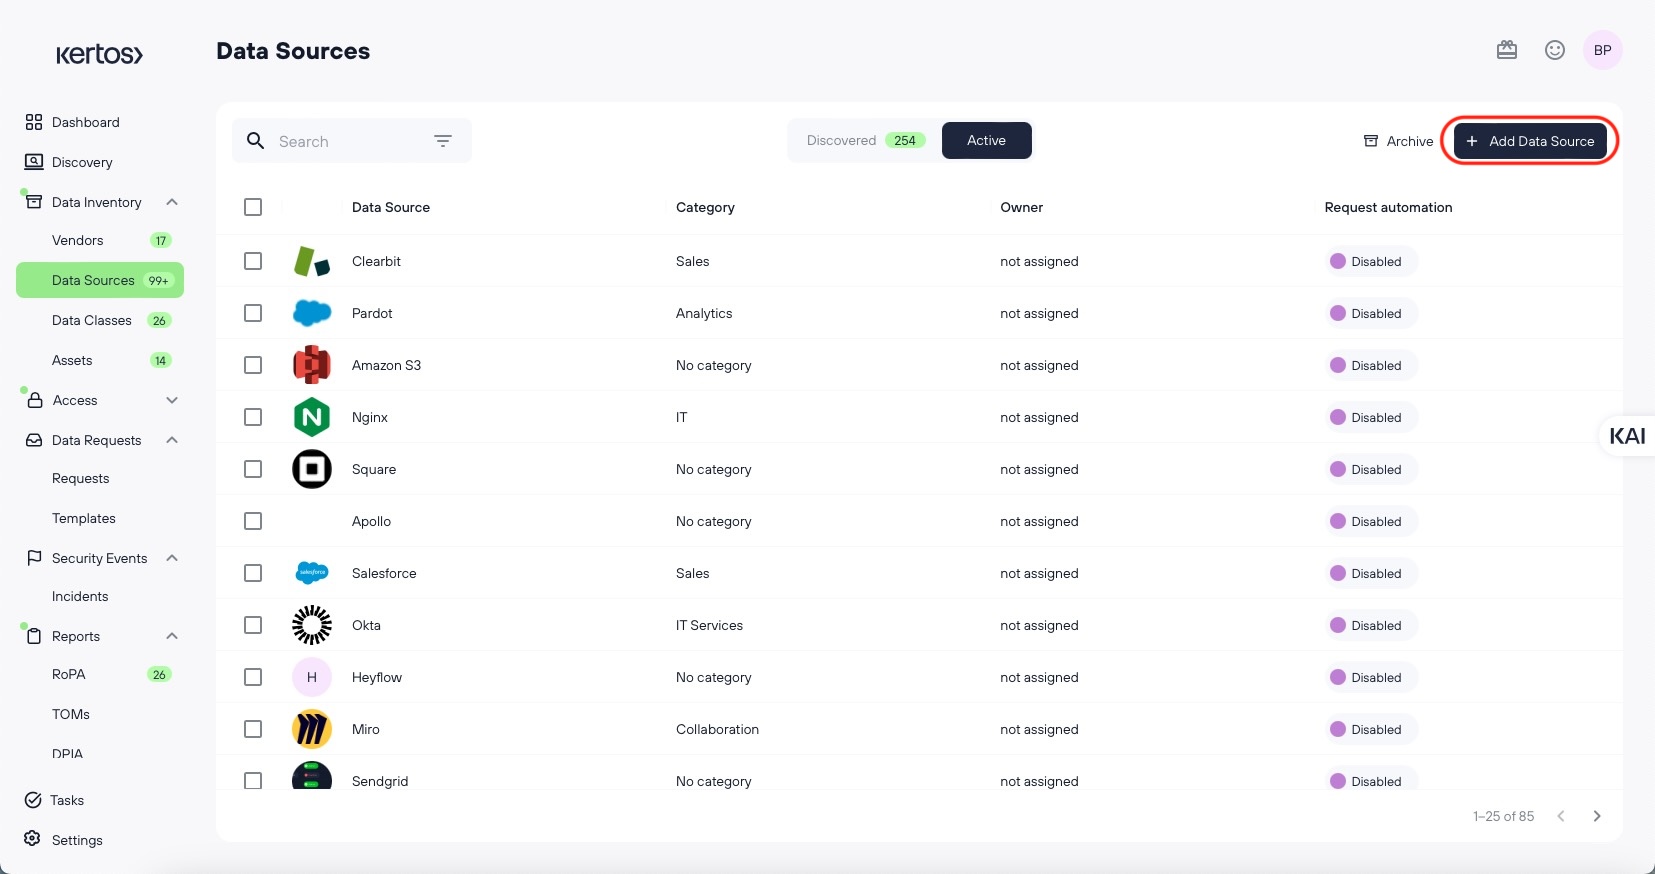
If a Data Source was not identified in the discovery, you have the option to add it manually.
Click “Add Data Source”.
Fill out the corresponding information, on the next page (this page resembles the detail view of a Data Source, which you can open by clicking on the respective vendor.)
Click “save”.
Documenting basic information

Among the basic options for documentation in the detail view, there are:
Name
URL Link to the tool’s website.
Status This is another way to set a Data Source from "Active” to “Archived” or vice versa.
Owner The employee responsible for the tool.
Description
Purpose
Departments that are using this tool.
Category
Contact Details For example, the dedicated customer success manager of the tool.
Do not forget to click “save” every time after modifying a Data Source.
Assigning a Data Source to a Vendor
From the Data Source page

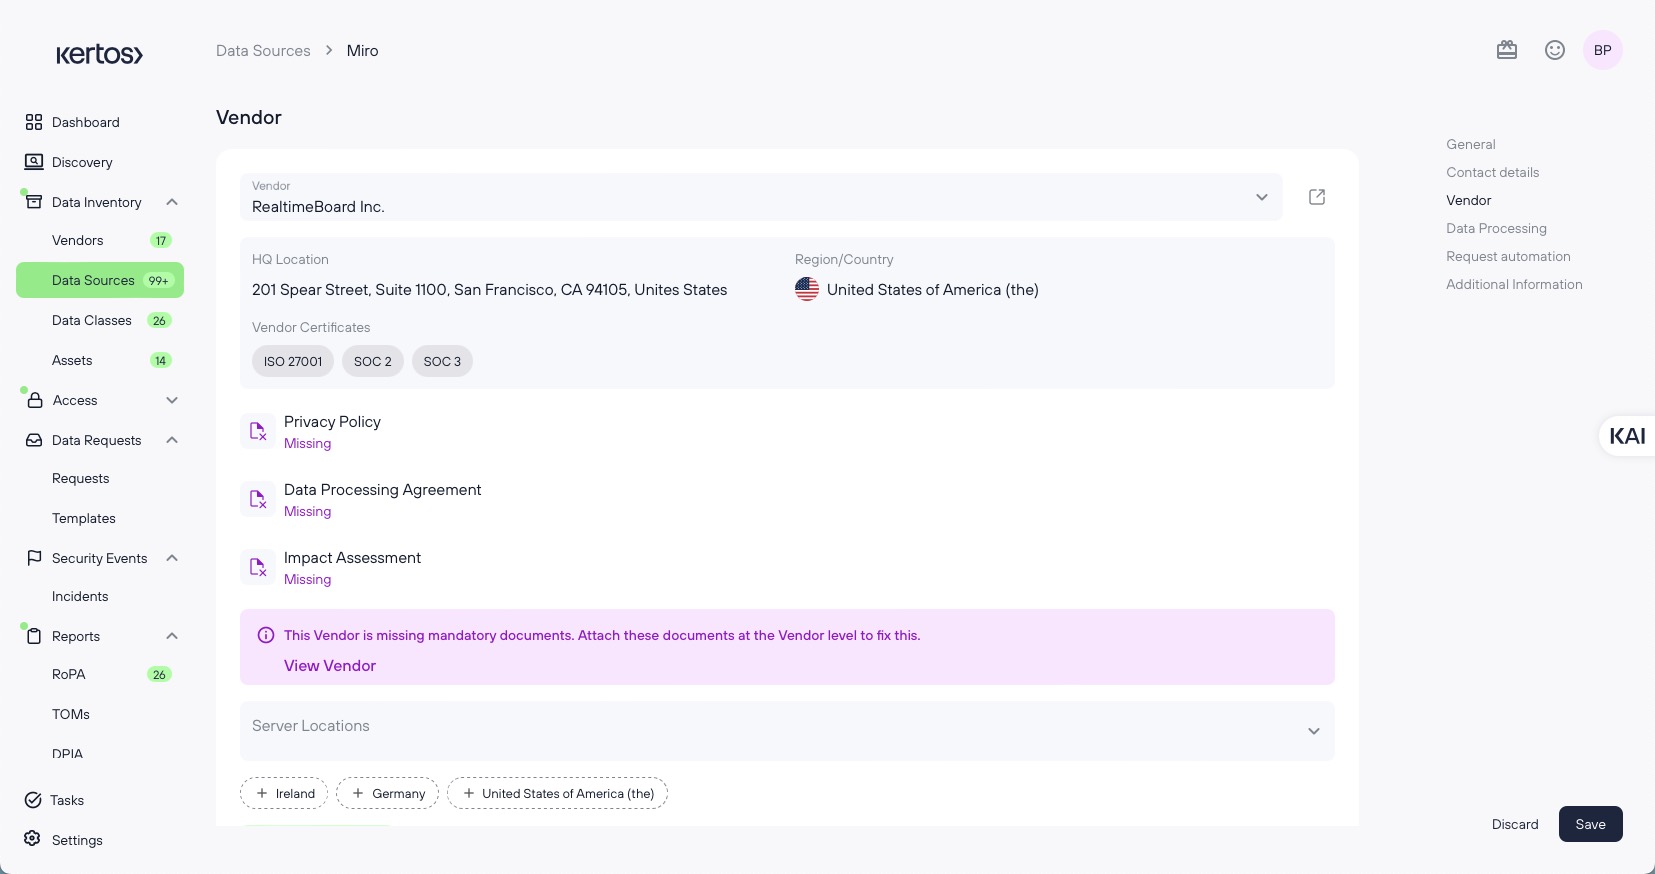
In the detail view, scroll down to “Vendor”.
In the Vendor bar, search for the Vendor’s name (only existing vendors are available, to add a new vendor go to the Vendor page) and select it.
Kertos will add the details for you if they exist on the vendor page. If documents regarding this Data Source’s Vendor are missing, they will show as “missing”. You can click “View Vendor” to add them.
Add the server location, if necessary. Kertos Insights will suggest Server Locations if the Vendor is common.
Click “save”.
From the Vendor page

Go to Vendors.
Open the detail view of the desired Vendor.
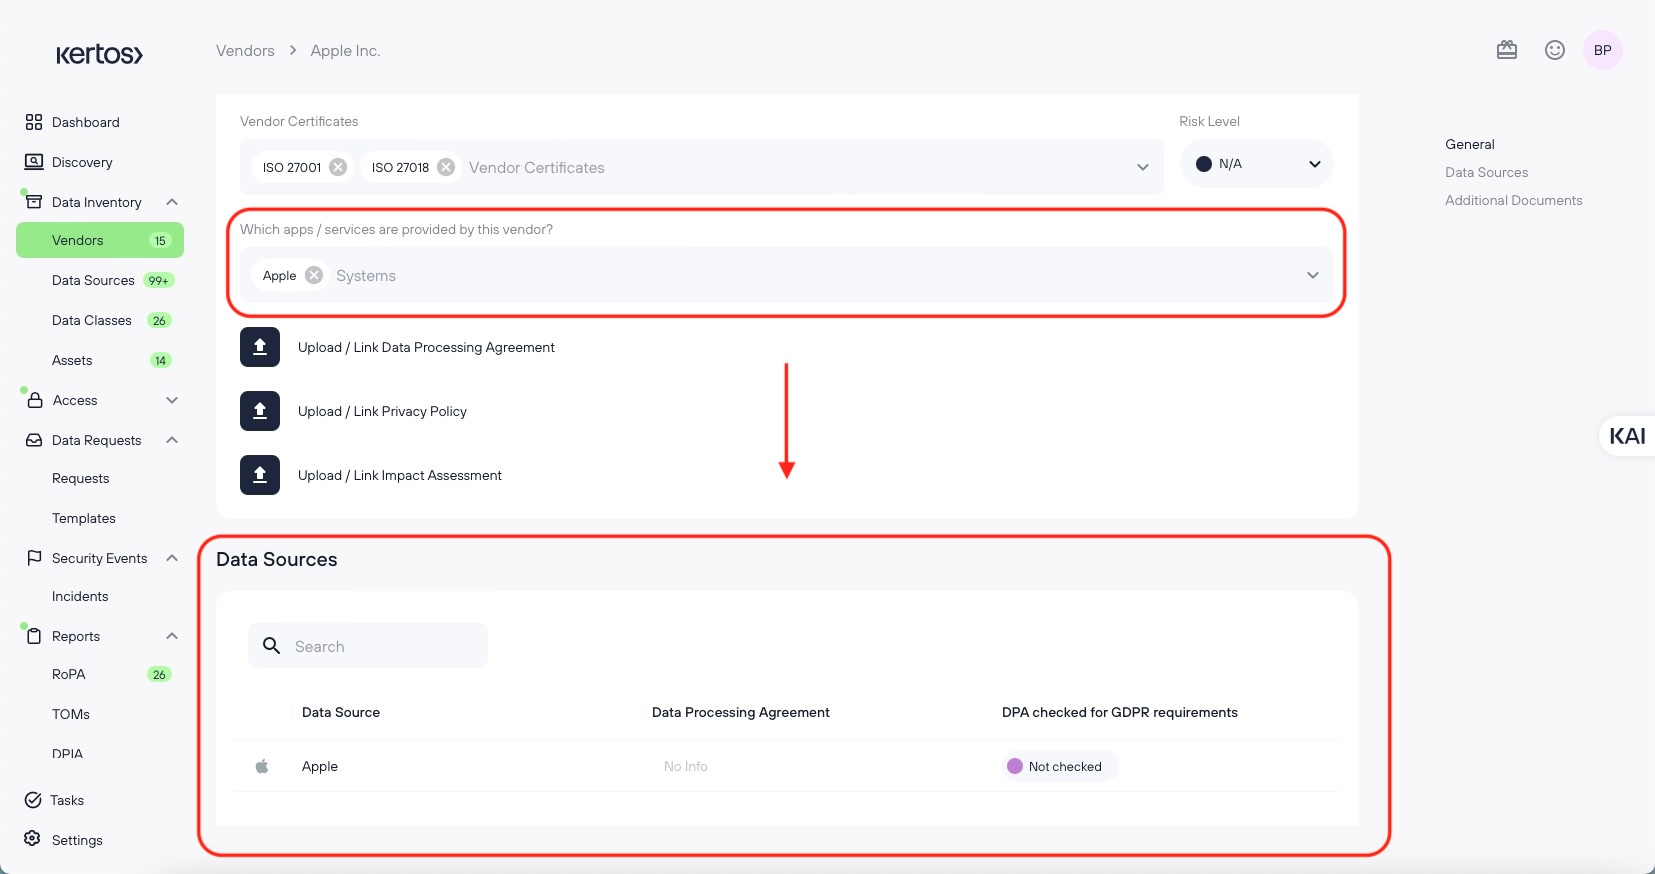
Go to “Which apps / services are provided by this vendor?.
Choose the desired Data Source(s).
The assigned Data Sources will show up in the Data Source section below with more details.
Click “save”.
Assigning Data Subject Types and Data Classes
You can document which Data Subject Types (e.g. customers, employees, etc.) and which Data Classes are processed by this Data Source. See Inventorying Data Classes for more details.
Request automation
Here you can setup automatic handling of DSRs that regard this Data Source (if entailed in your subscription). For more details, see Setting up Request Automation.