Finalizing a Data Subject Request
This last section demonstrates the final step of the Data Subject Request process, thereby concluding this introductory tutorial. You will see how to close a completed Data Subject Request and get additional insights into the compliance details.
Monitoring an Ongoing Data Subject Request
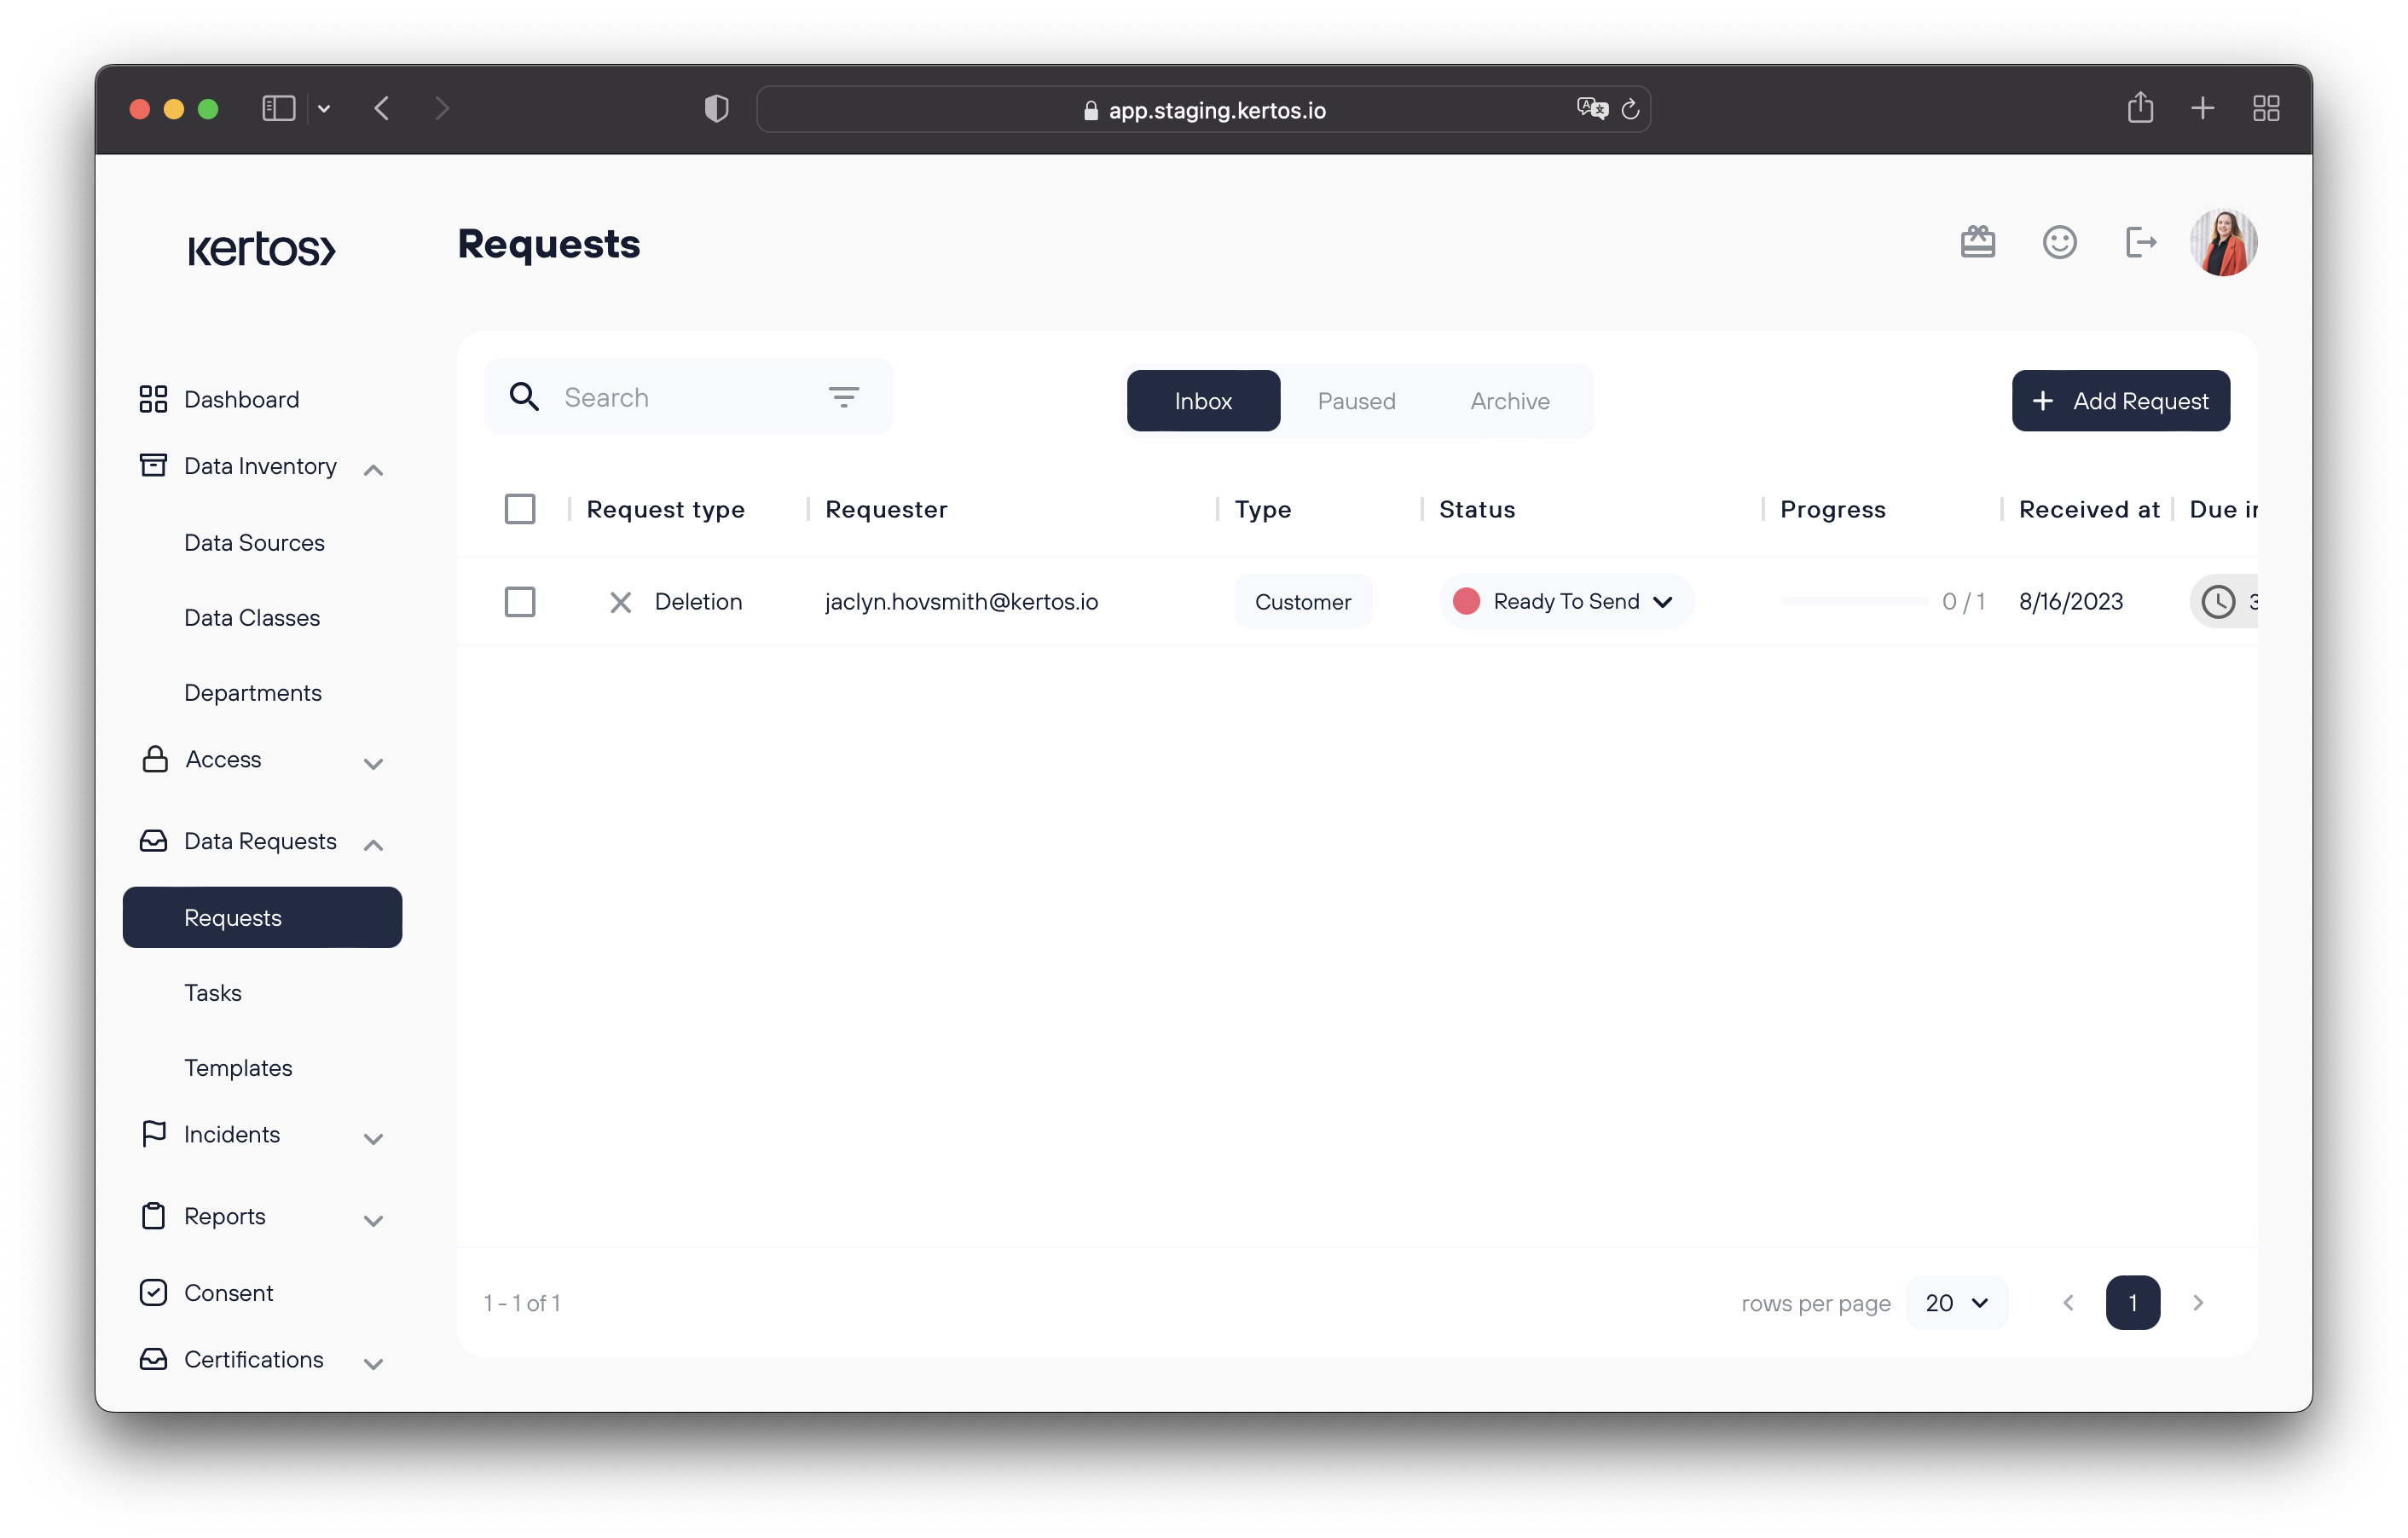
Switch to the "Requests" tab by clicking the respective button on the left side of the application.

If a Data Subject Request is yet to be completed, you can actively monitor the progress in the "Progress" section. In the example above, you can see, that the Data Subject Request is halfway completed (5 of 10 System Tasks are finished). To ensure compliance, all System Tasks have to be completed within the due date timeframe. You can set a default reminder to System Owners by navigating to the "Requests" subsection in the "Settings" tab, to trigger reminder emails for open System Tasks.
Setting default permissions for your organization requires you to have admin permissions for your organization!
Closing a Data Subject Request
After all related System Tasks have been completed the "Status" of the request will automatically be set to "Ready To Send".
Click on the Data Subject Request row to open the Detail View of the respective Data Subject Request. You can now click "Send user mail" to inform the requesting data subject about the completion of their request.
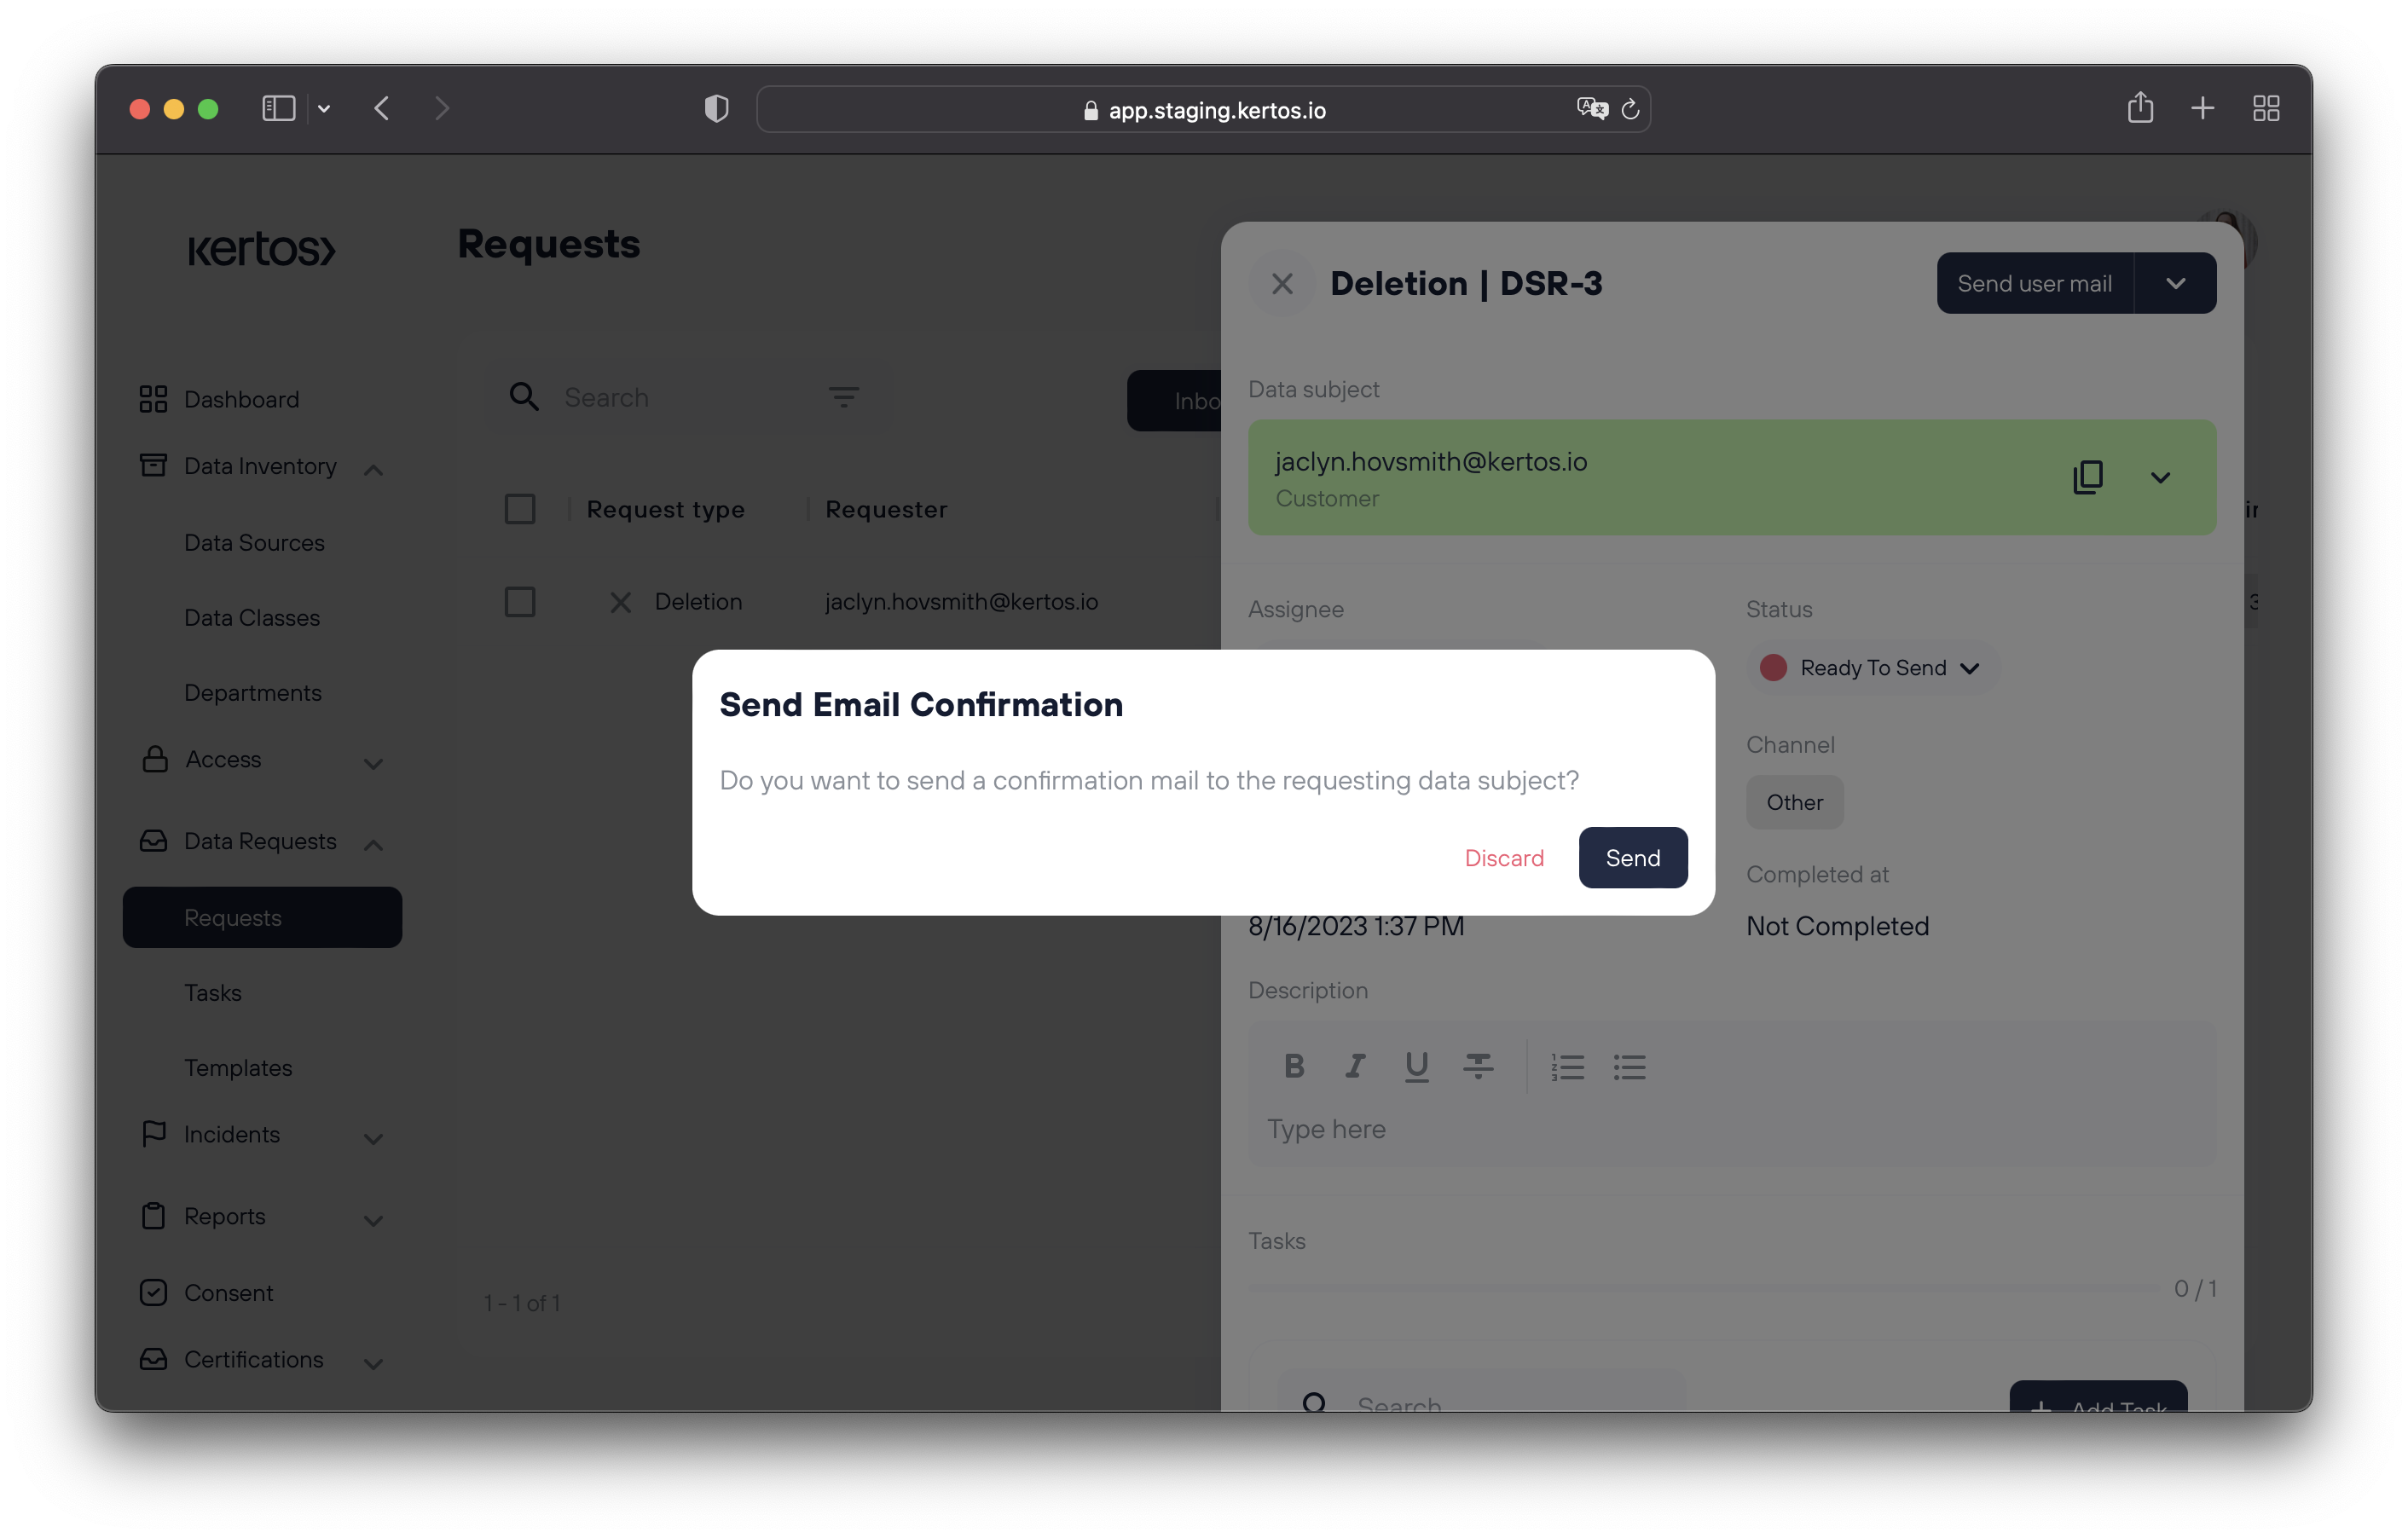
Doing so will automatically close the request and move it to the archive section of the Data Subject Request area. In compliance with GDPR regulation, the closed request itself will automatically be deleted from the "Archive" after the appropriate timeframe.
Enabling Automatic Completion Messages
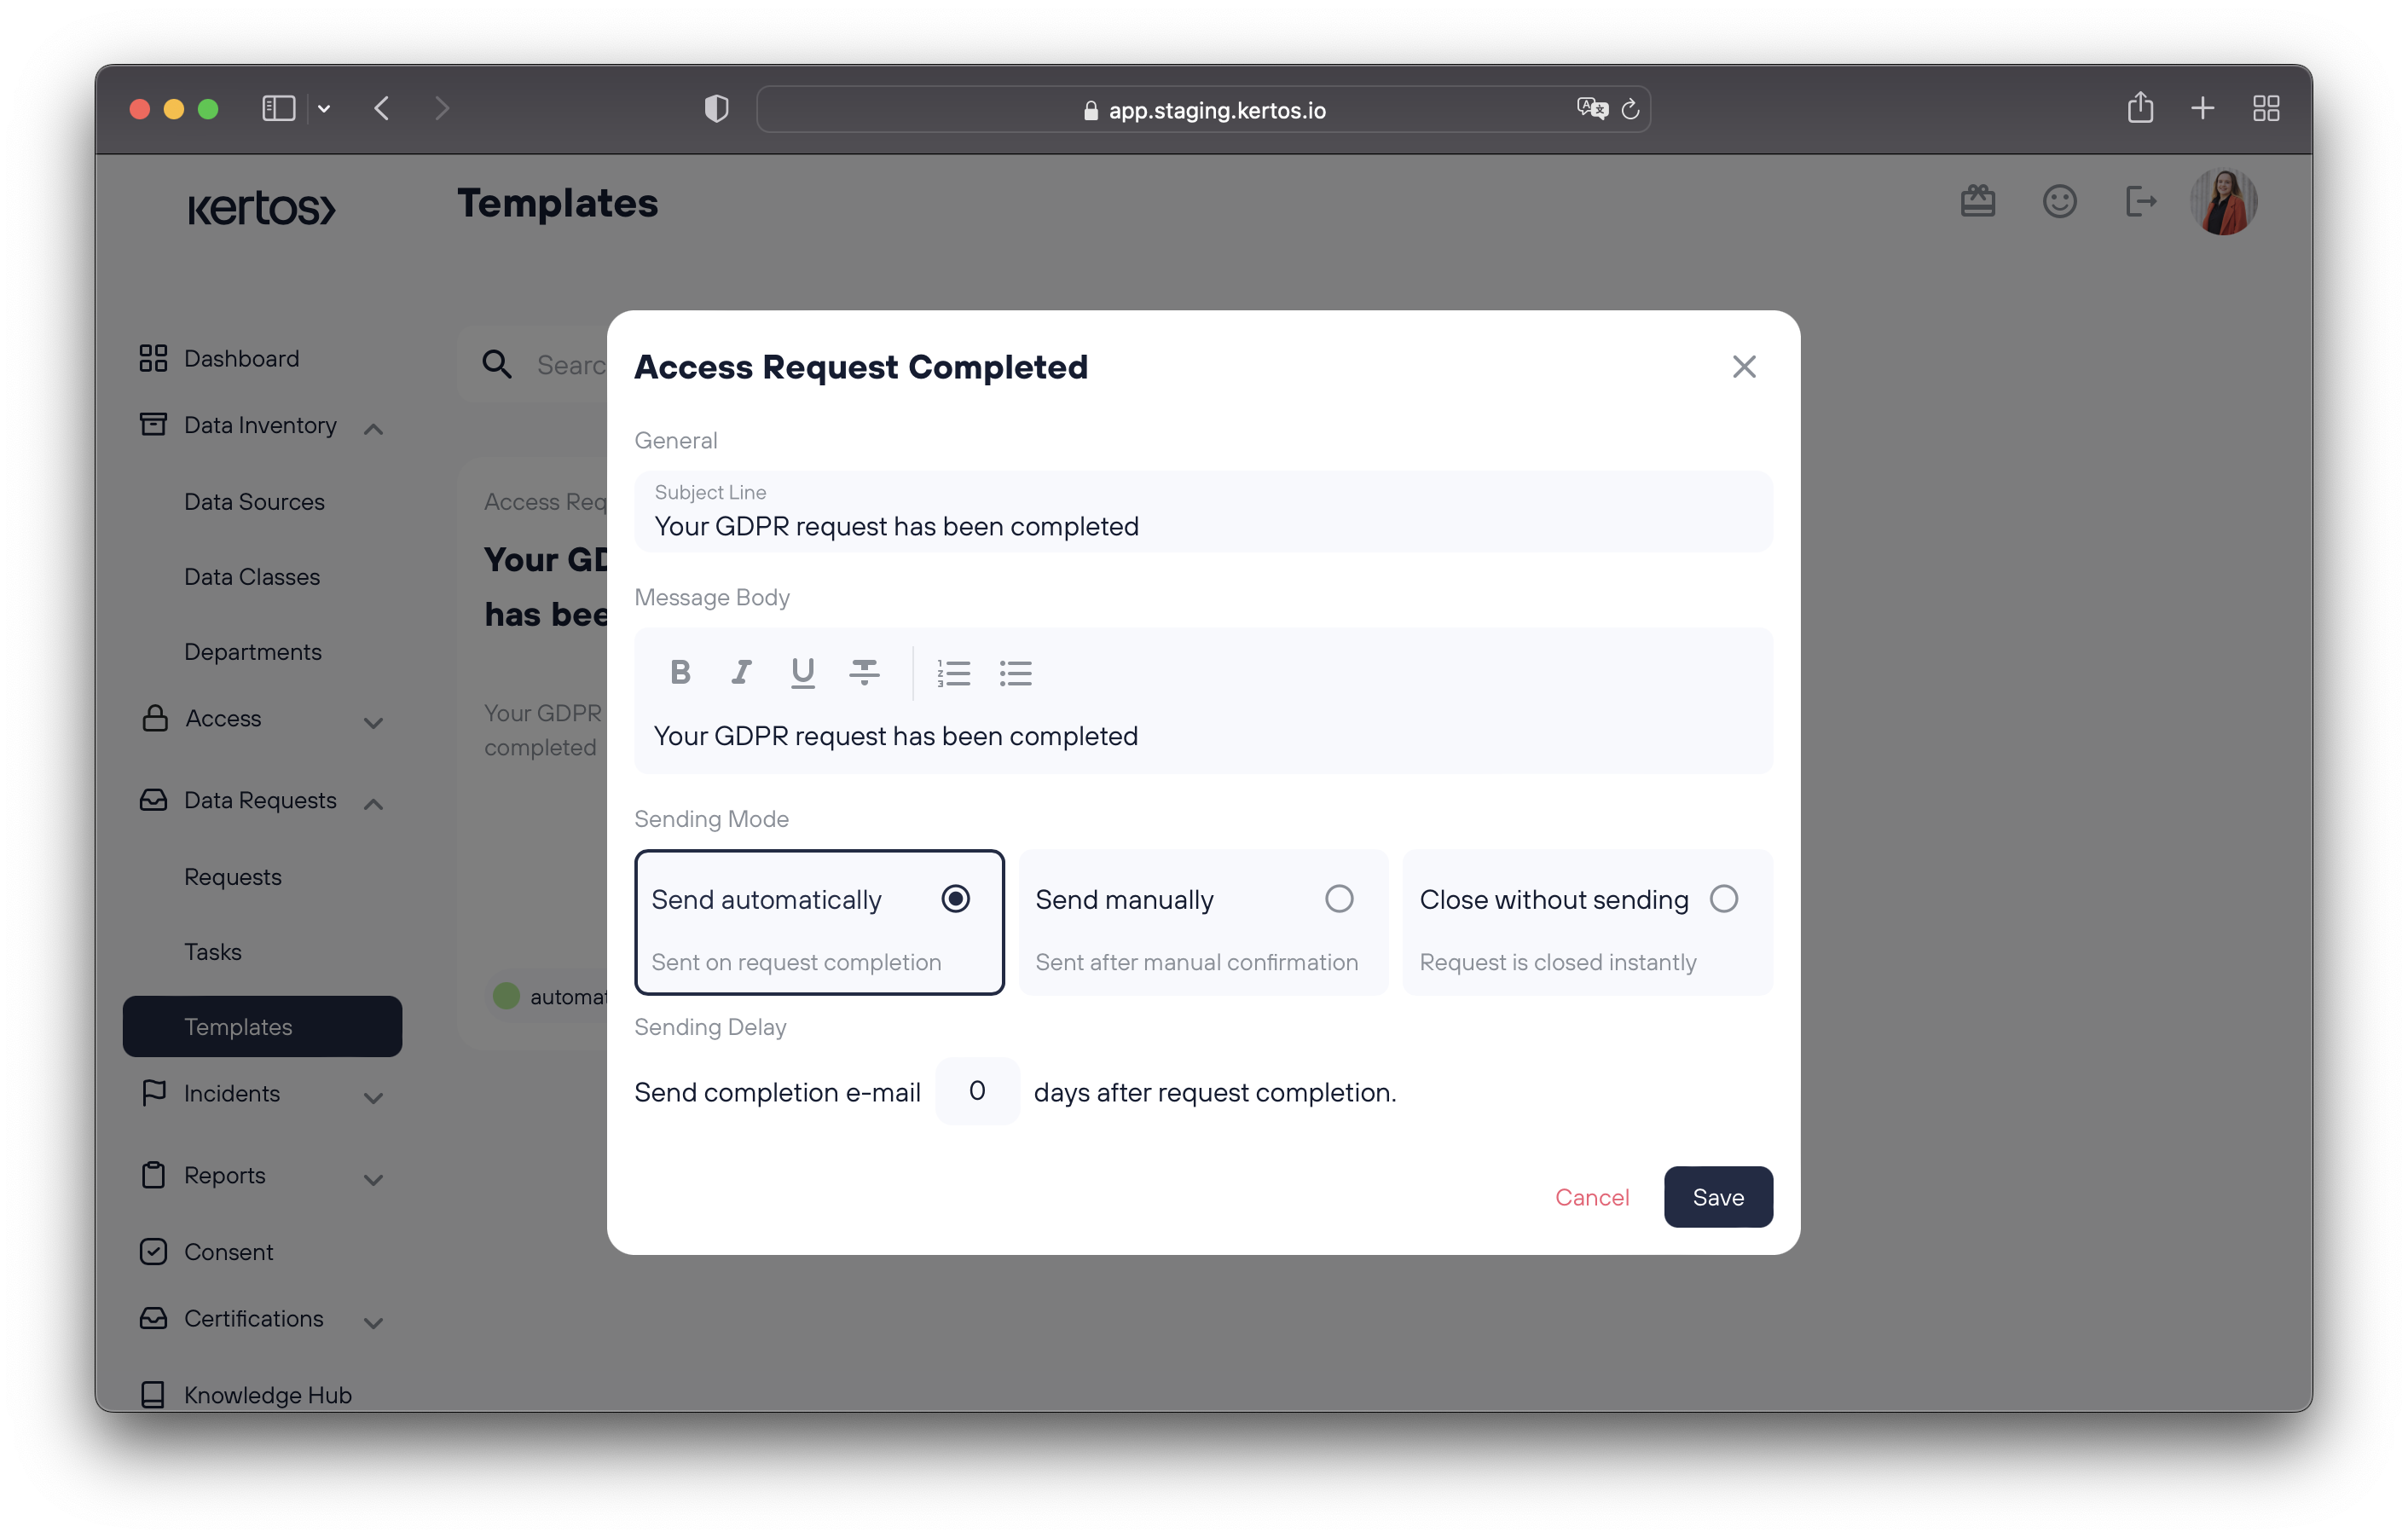
To ensure an error-free request process, we recommend activating the automated completion messages. To do so, head over to the “Data Requests” > “Templates”. In this section, you can personalize your automatic email messages for various request types.
Closing Requests Without Sending a Message
In the case that you want to close a request without notifying the data subject via e-mail, we’ve got you covered. This functionality exists as a setting in your e-mail templates.
Navigate into “Data Requests” > “Templates”. Once you’re there, you can select a template to edit.
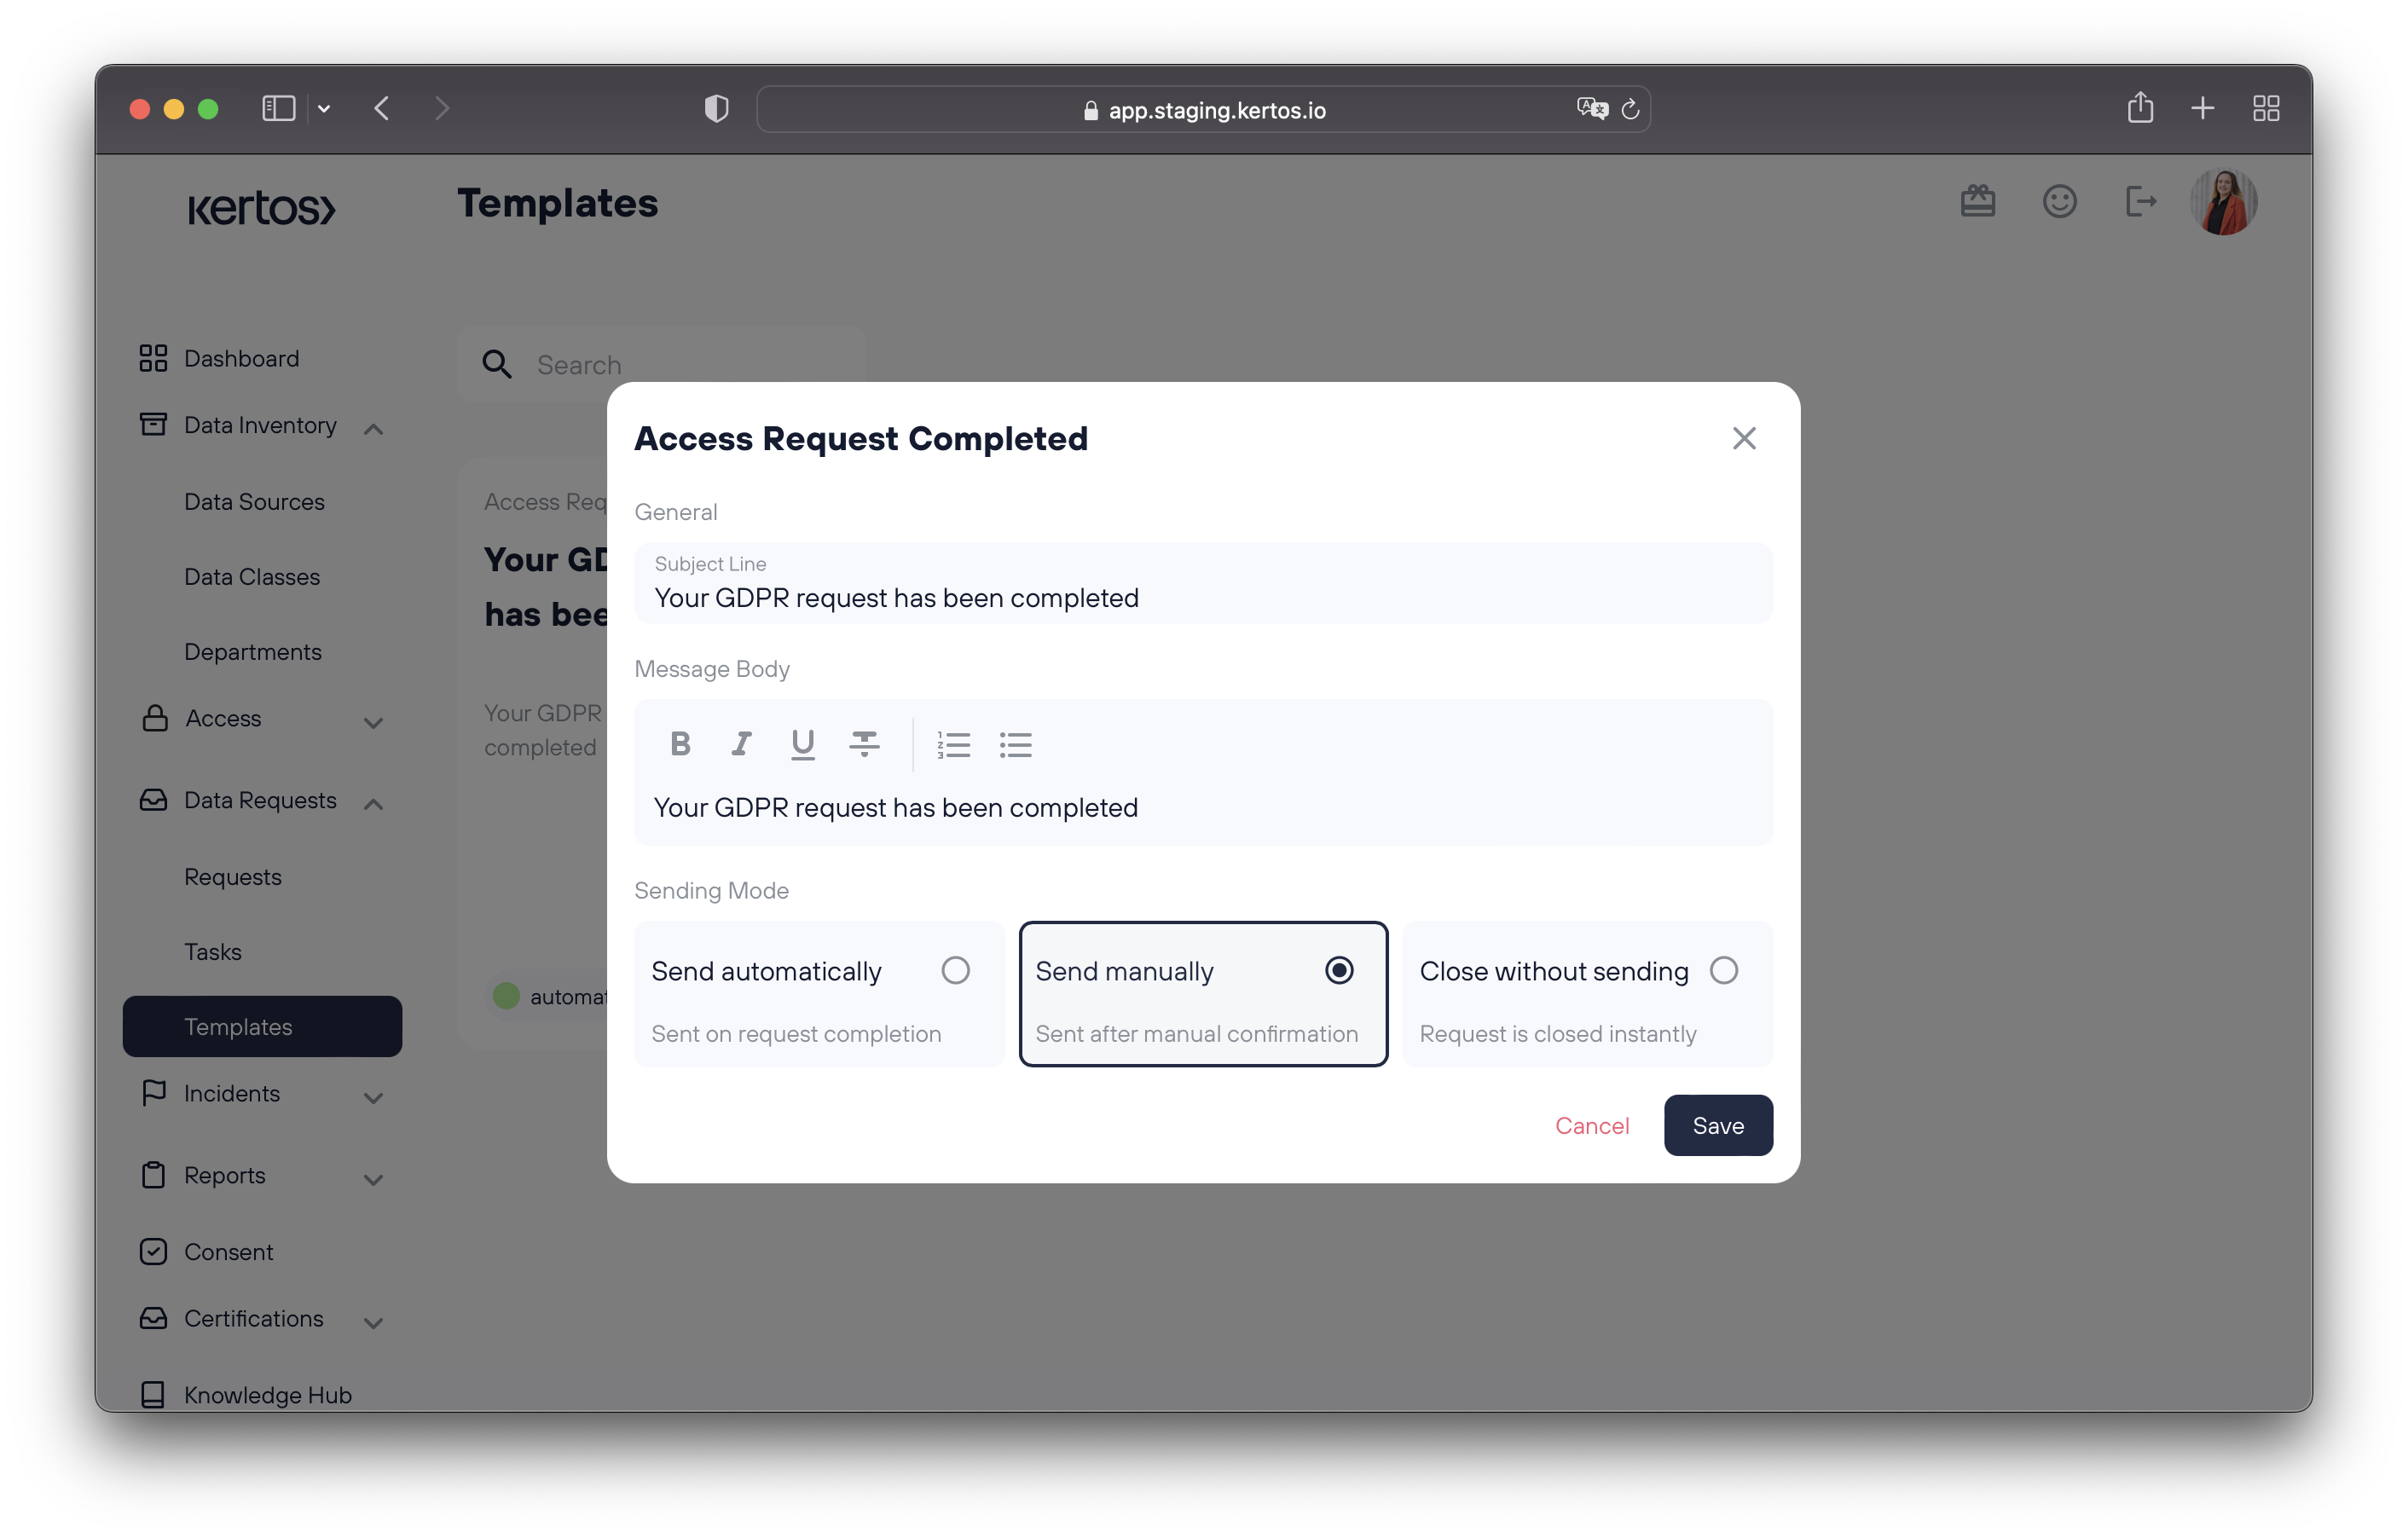
Once you’ve selected a template, you can choose whether to send an e-mail notification manually, automatically, or not at all. Click “Save” to finish the process of updating your notification preferences.
Recap
To monitor and ensure compliance when working on a Data Subject Request, take a look at the progress column. All displayed System Tasks have to be completed within the due date timeframe. If done so, the "Status" of the request will automatically be set to "Ready To Send". As a last step, open the Detail View of the respective Data Subject Request by clicking on it and set the "Status" field to "Done". Make sure to inform the Data Subject about the completion or use the enable the automatic competion messages to ensure an error-free process.