
Scanning your SSO
Running SSO Discovery
⚠️ The account used for login when executing the SSO scan must have admin rights, otherwise Kertos cannot access the necessary information.
1. Go to Integrations > Discovery.
2. Select the appropriate SSO integration.
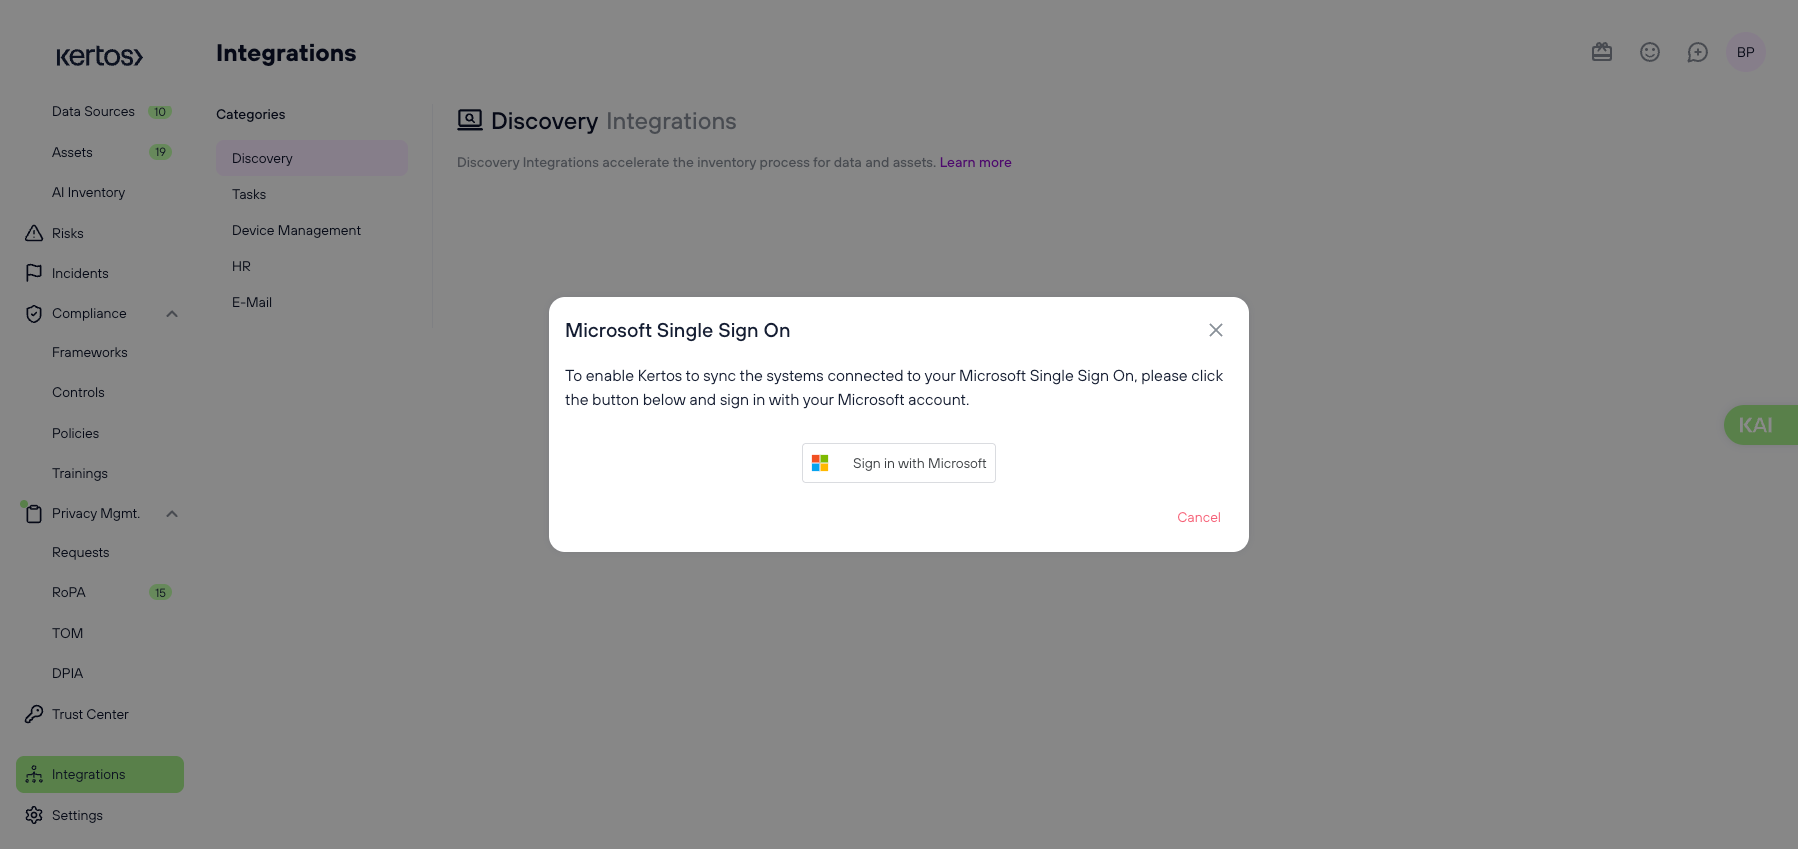
3. In this case, the email provider is Microsoft. Click “Sign in with Microsoft”.
4. A pop-up will open that guides you through your email provider’s log-in process. If you encounter log-in difficulties, refer to your email provider’s documentation.
5. After finishing the process, the pop-up will close and the scan will run automatically.
What does Kertos access to perform SSO Discovery?
In order to discover your compliance-related data, we require the following permissions from you, depending on the provider you use:
Microsoft
For identifying which users are active:
user.read
user.read.all
For identifying which users access which data sources:
appRoleAssignment.ReadWrite.AllMore Information on the required permissions can be found here: https://learn.microsoft.com/en-us/graph/api/user-get?view=graph-rest-1.0&tabs=http
For identifying which users are active:
userinfo.profile
admin.directory.user
userinfo.email
openid
For identifying which users access which systems:
admin.directory.user.securityMore Information on the required permissions can be found here:
https://developers.google.com/identity/protocols/oauth2/scopes
If rather than using an administrator account you want to create a (read-only) service account to sign up with, a guide on how to configure a service account can be found here:
https://support.google.com/a/answer/7378726?hl=en
Okta
1. In Okta, go to your admin interface.
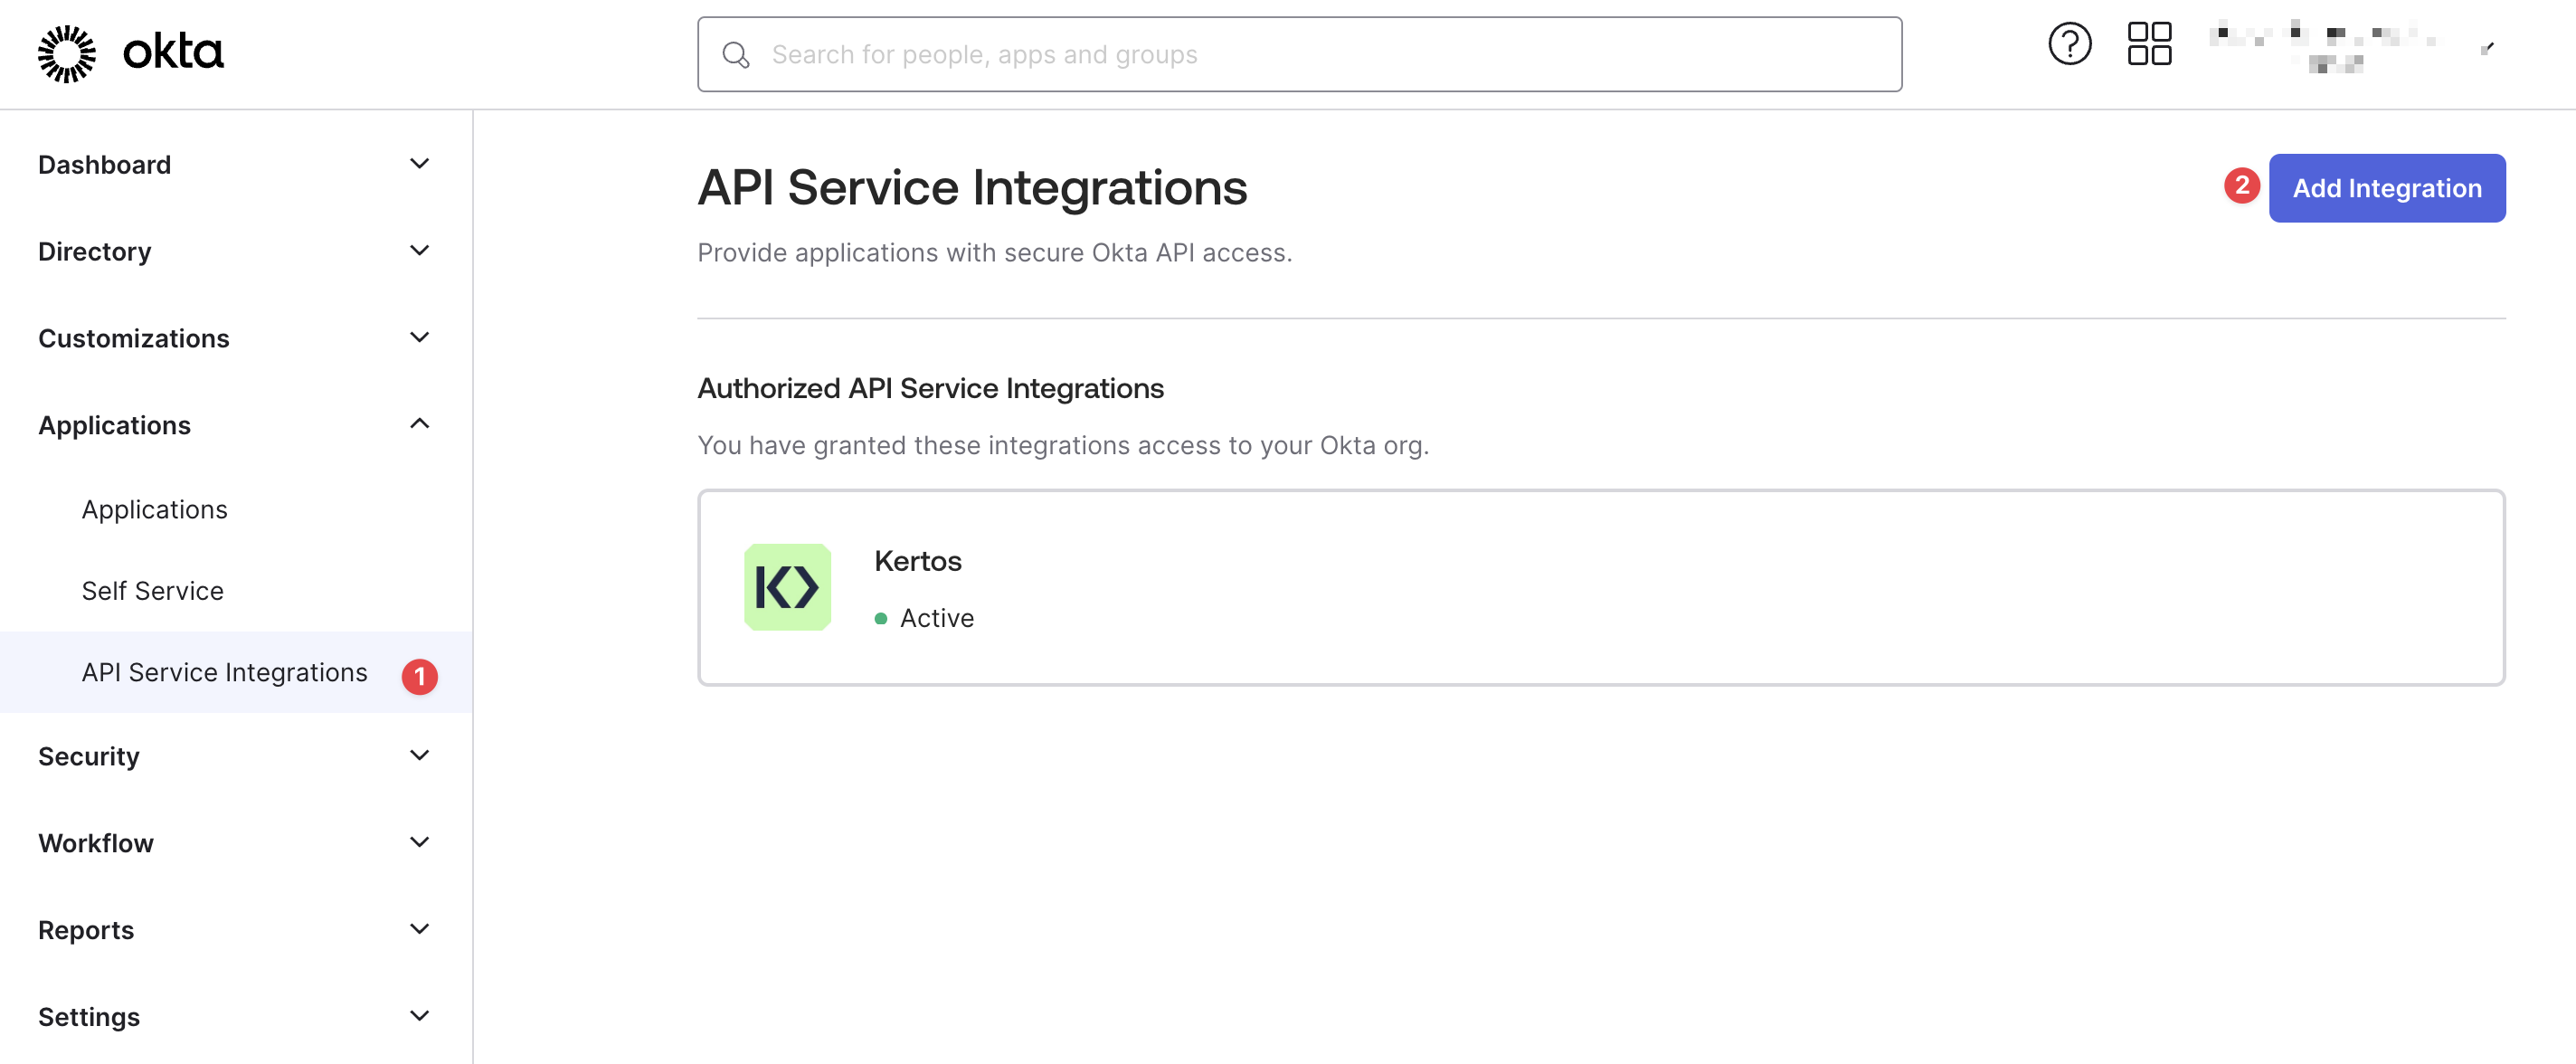
2. Select “Applications” in the navigation bar.
3. Go to “API Service Integrations” and select "Add Integration".
4. Choose Kertos from the list of available integrations and confirm adding it to your Okta account.
5. You can now head back to Kertos and continue the setup there.
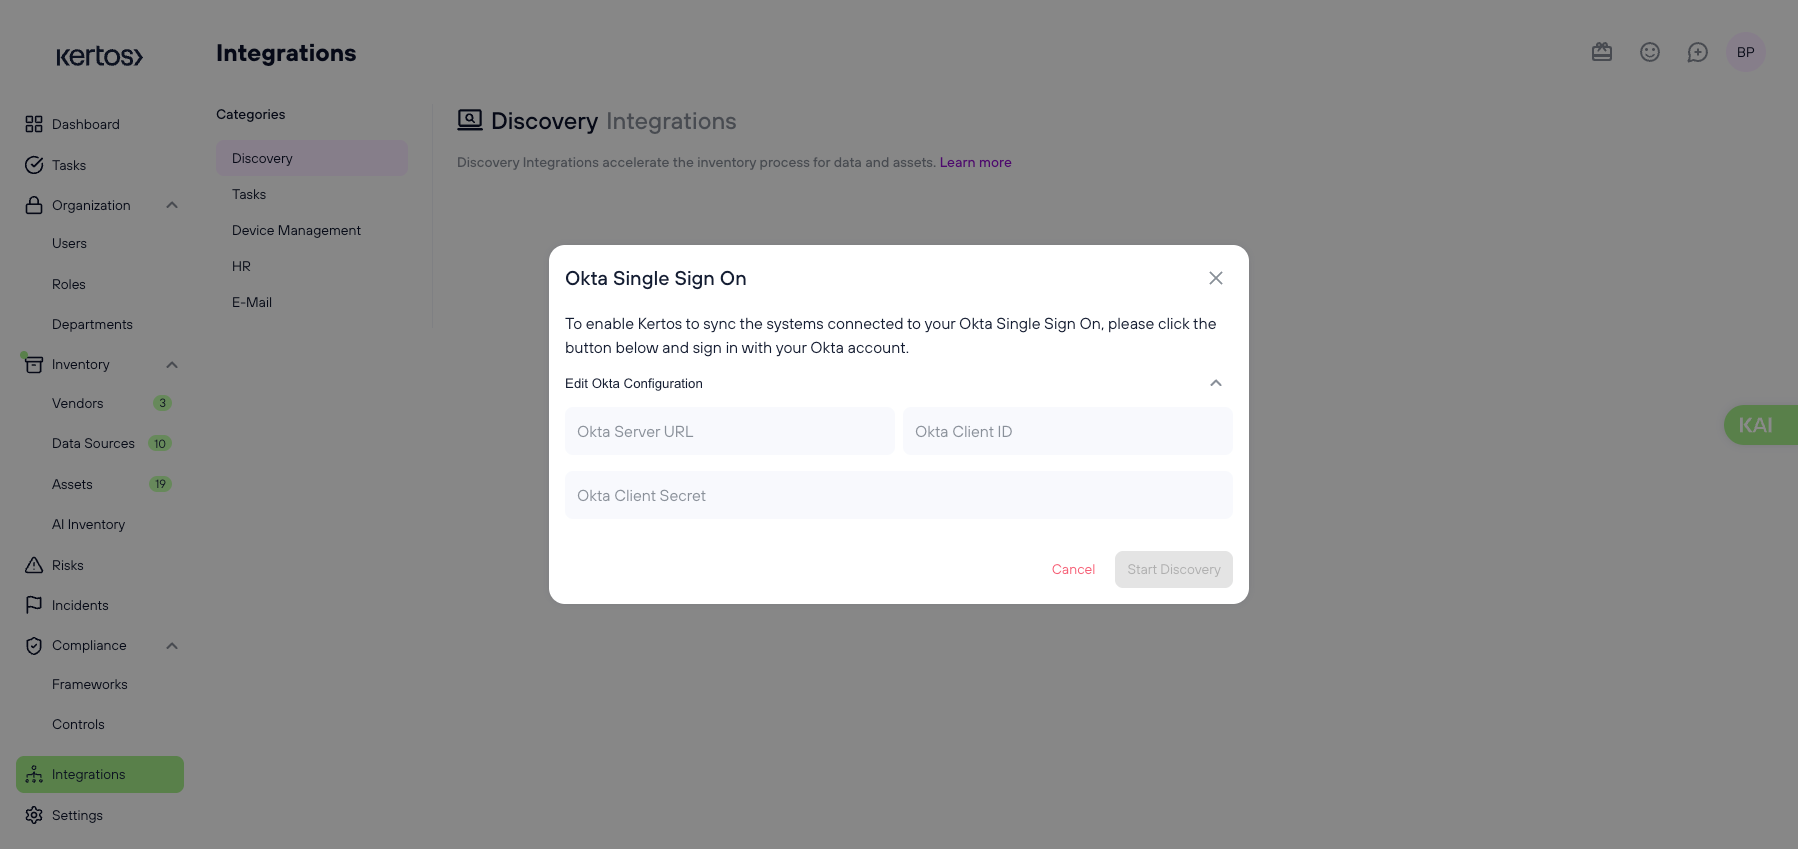
6. Click “Edit Okta Configuration”
7. Enter the relevant info:
- Okta Server URL: The domain of your Okta account, e.g. https://example.okta.com. You can just go to your Okta dashboard and copy & paste the URL from your browser, Kertos will take care of extracting the relevant parts.
- Okta Client ID: The client id generated in the Okta interface. You can find this by going to the "Applications" tab in Okta, choosing "API Service Integrations" and then selecting the "Kertos" application, and then clicking on the "General" tab. The client id is listed under "Client Credentials".
- Okta Client Secret: The client secret generated in the Okta interface. In the Kertos API service integration in Okta, generate a client secret (it will only be shown once, so make sure to copy it) and paste it into the form in Kertos. We will also not show it on subsequent visits to protect this secret.
8. Click “Start discovery”